
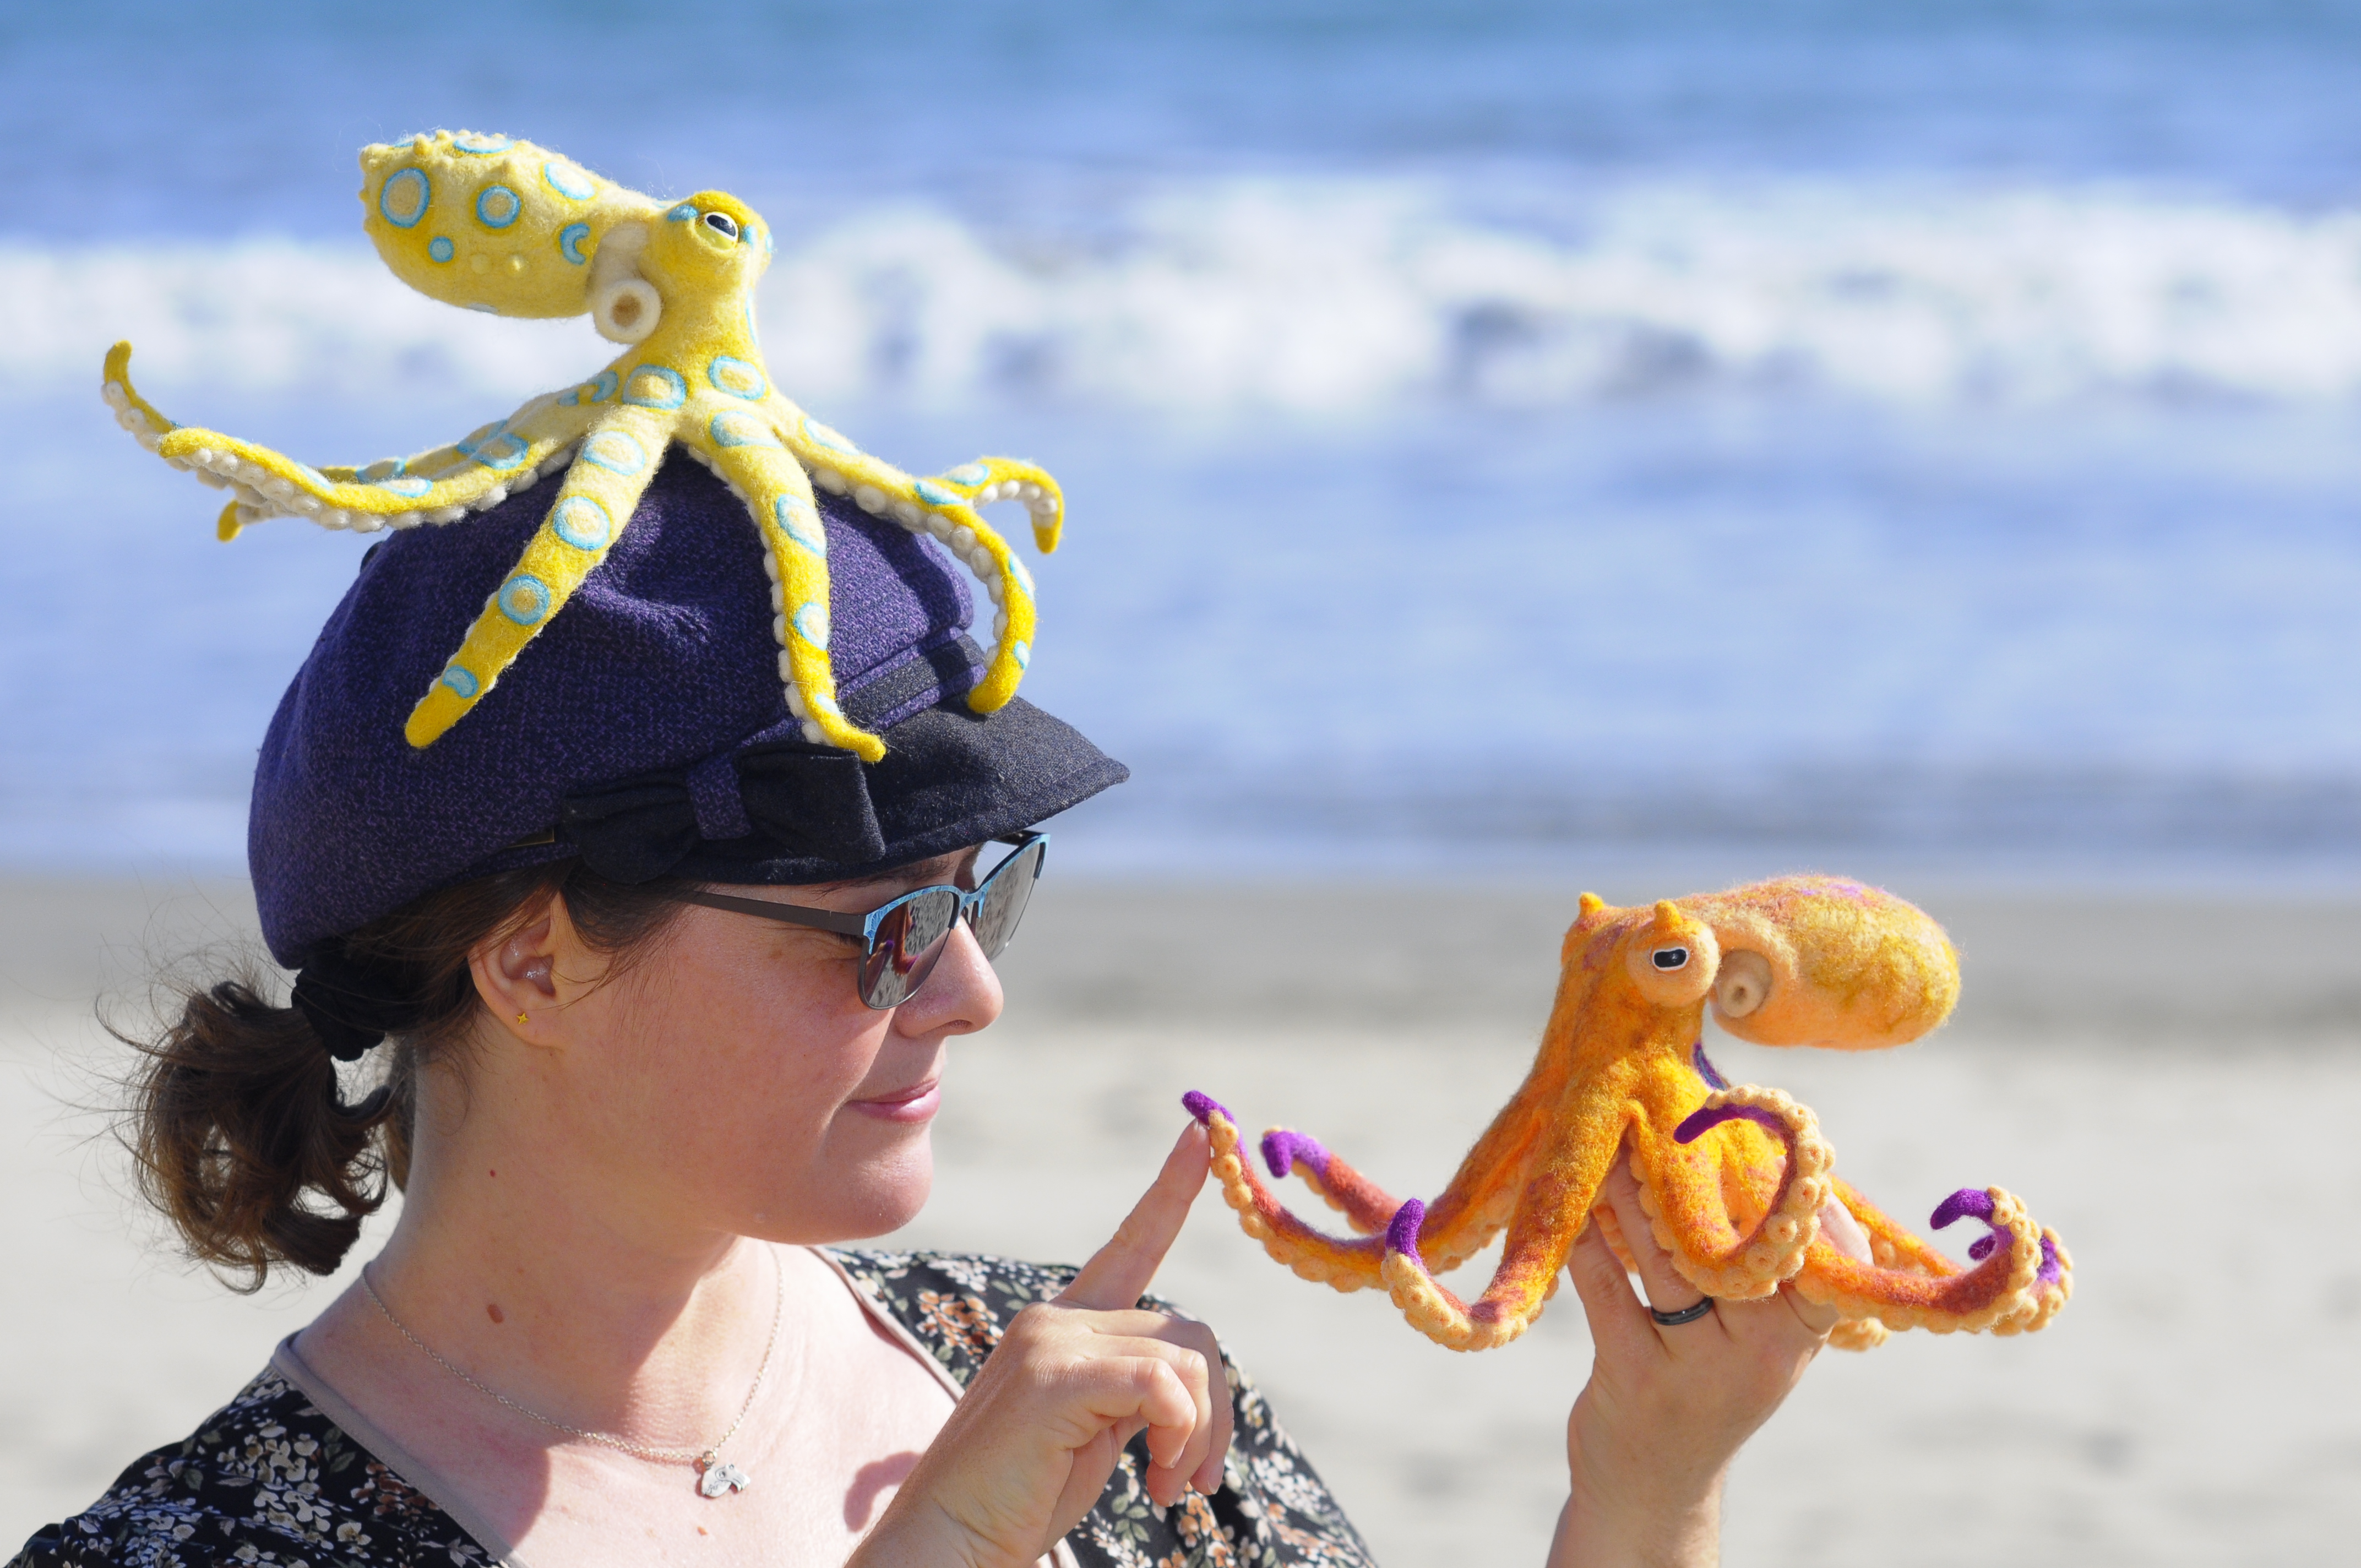
In honor of World Octopus Day, which is today, October eighth, I thought I’d share my latest octopus creations with you all.
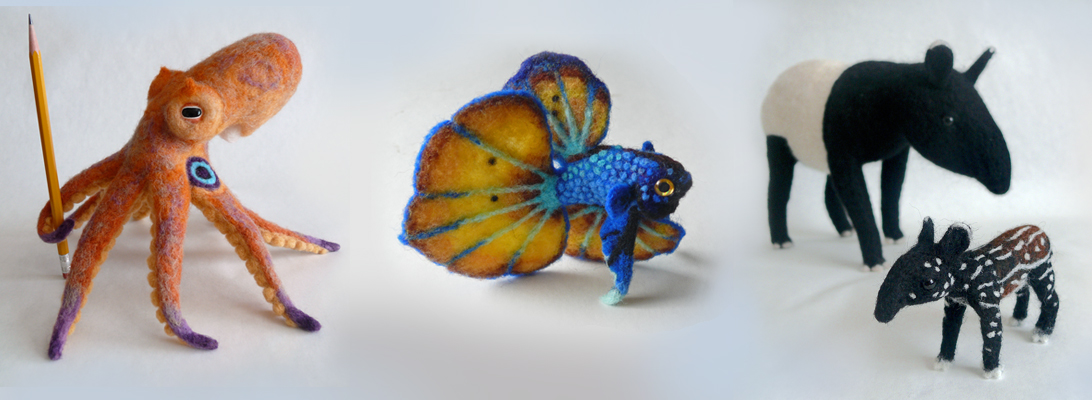
This summer I had a double order for my needle felted octopuses; one blue-ringed and one two-spot. It was amazing getting this order. These two are some of my absolute favorite pieces to make.
It was, however, also intimidating.
I had never completed a needle felted octopus in only a single month before.
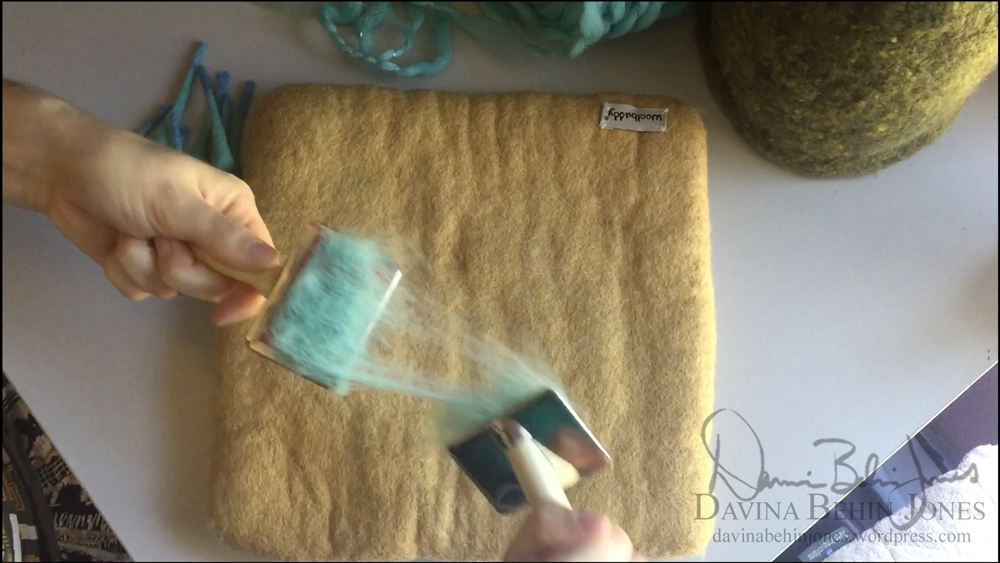
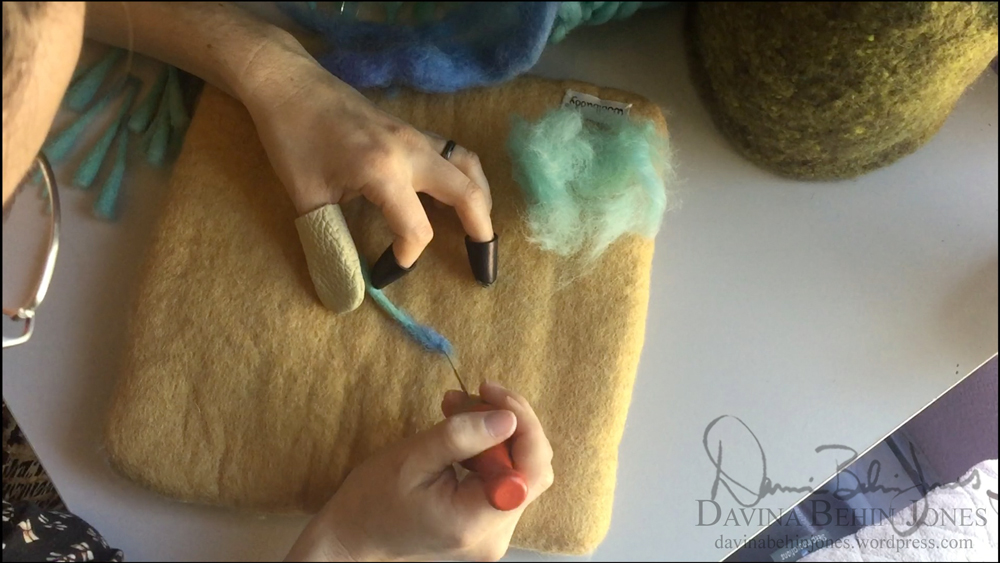
These projects are time-consuming and full of incredibly painstaking details. I often need to take breaks to ease the strain on my hands and wrists. And this time I had to make another one immediately after the first!

I wasn’t even certain I could do it. I was considering messaging my client to let them know I’d need more time to complete their order. But part of me wanted to challenge myself, just see what I could do. (They were not completed within a single month, by the way. It took two months, but that is still a record for me.)

The importance of hand stretches and exercises before and after working really hit home. I also gathered new aides to help keep my wrists and hands healthy: a wrist warmer/brace, a customized needle holder shaped to my own grip, and new and better thimbles.


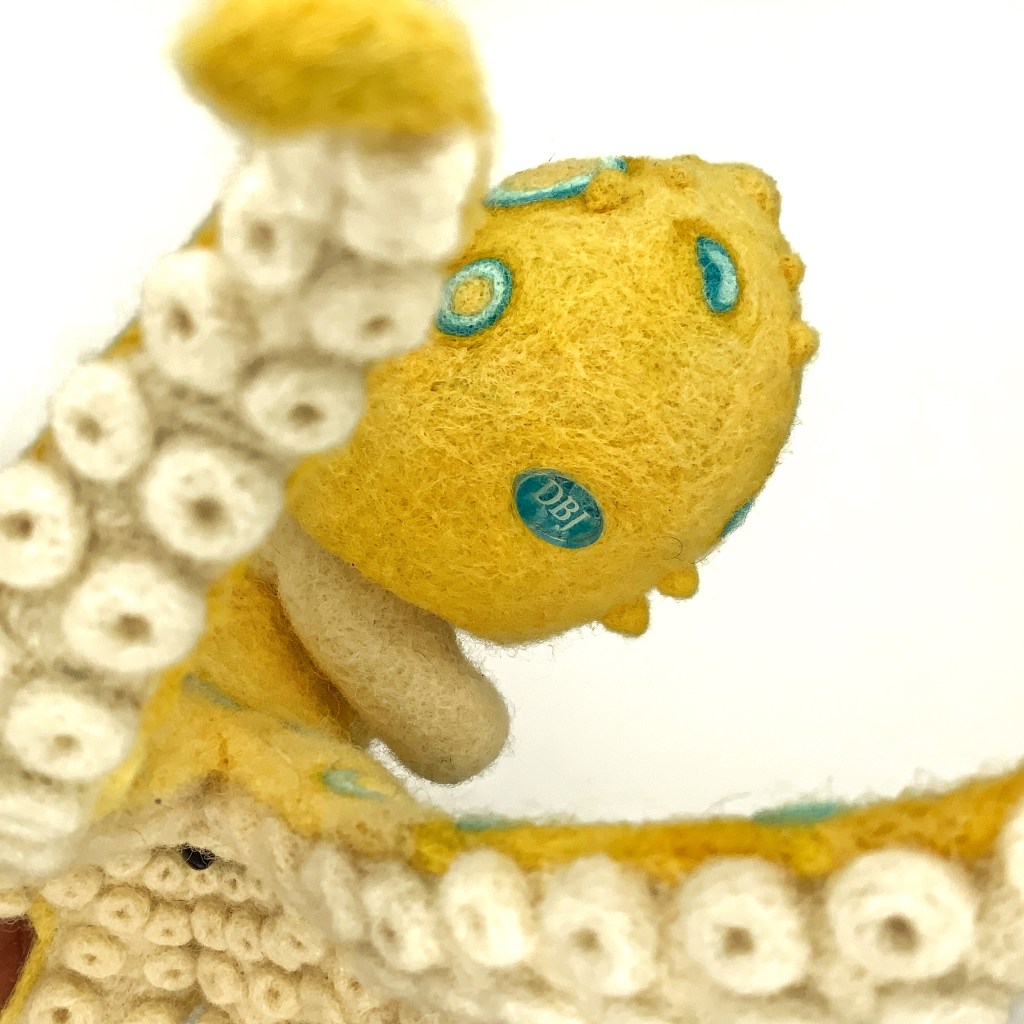
Every time I work on a piece of a kind that I’ve made before, I try my best to improve my technique and make it my very best effort. This time I paid extra attention to the shape of the mantels and how the siphon gets tucked up inside.
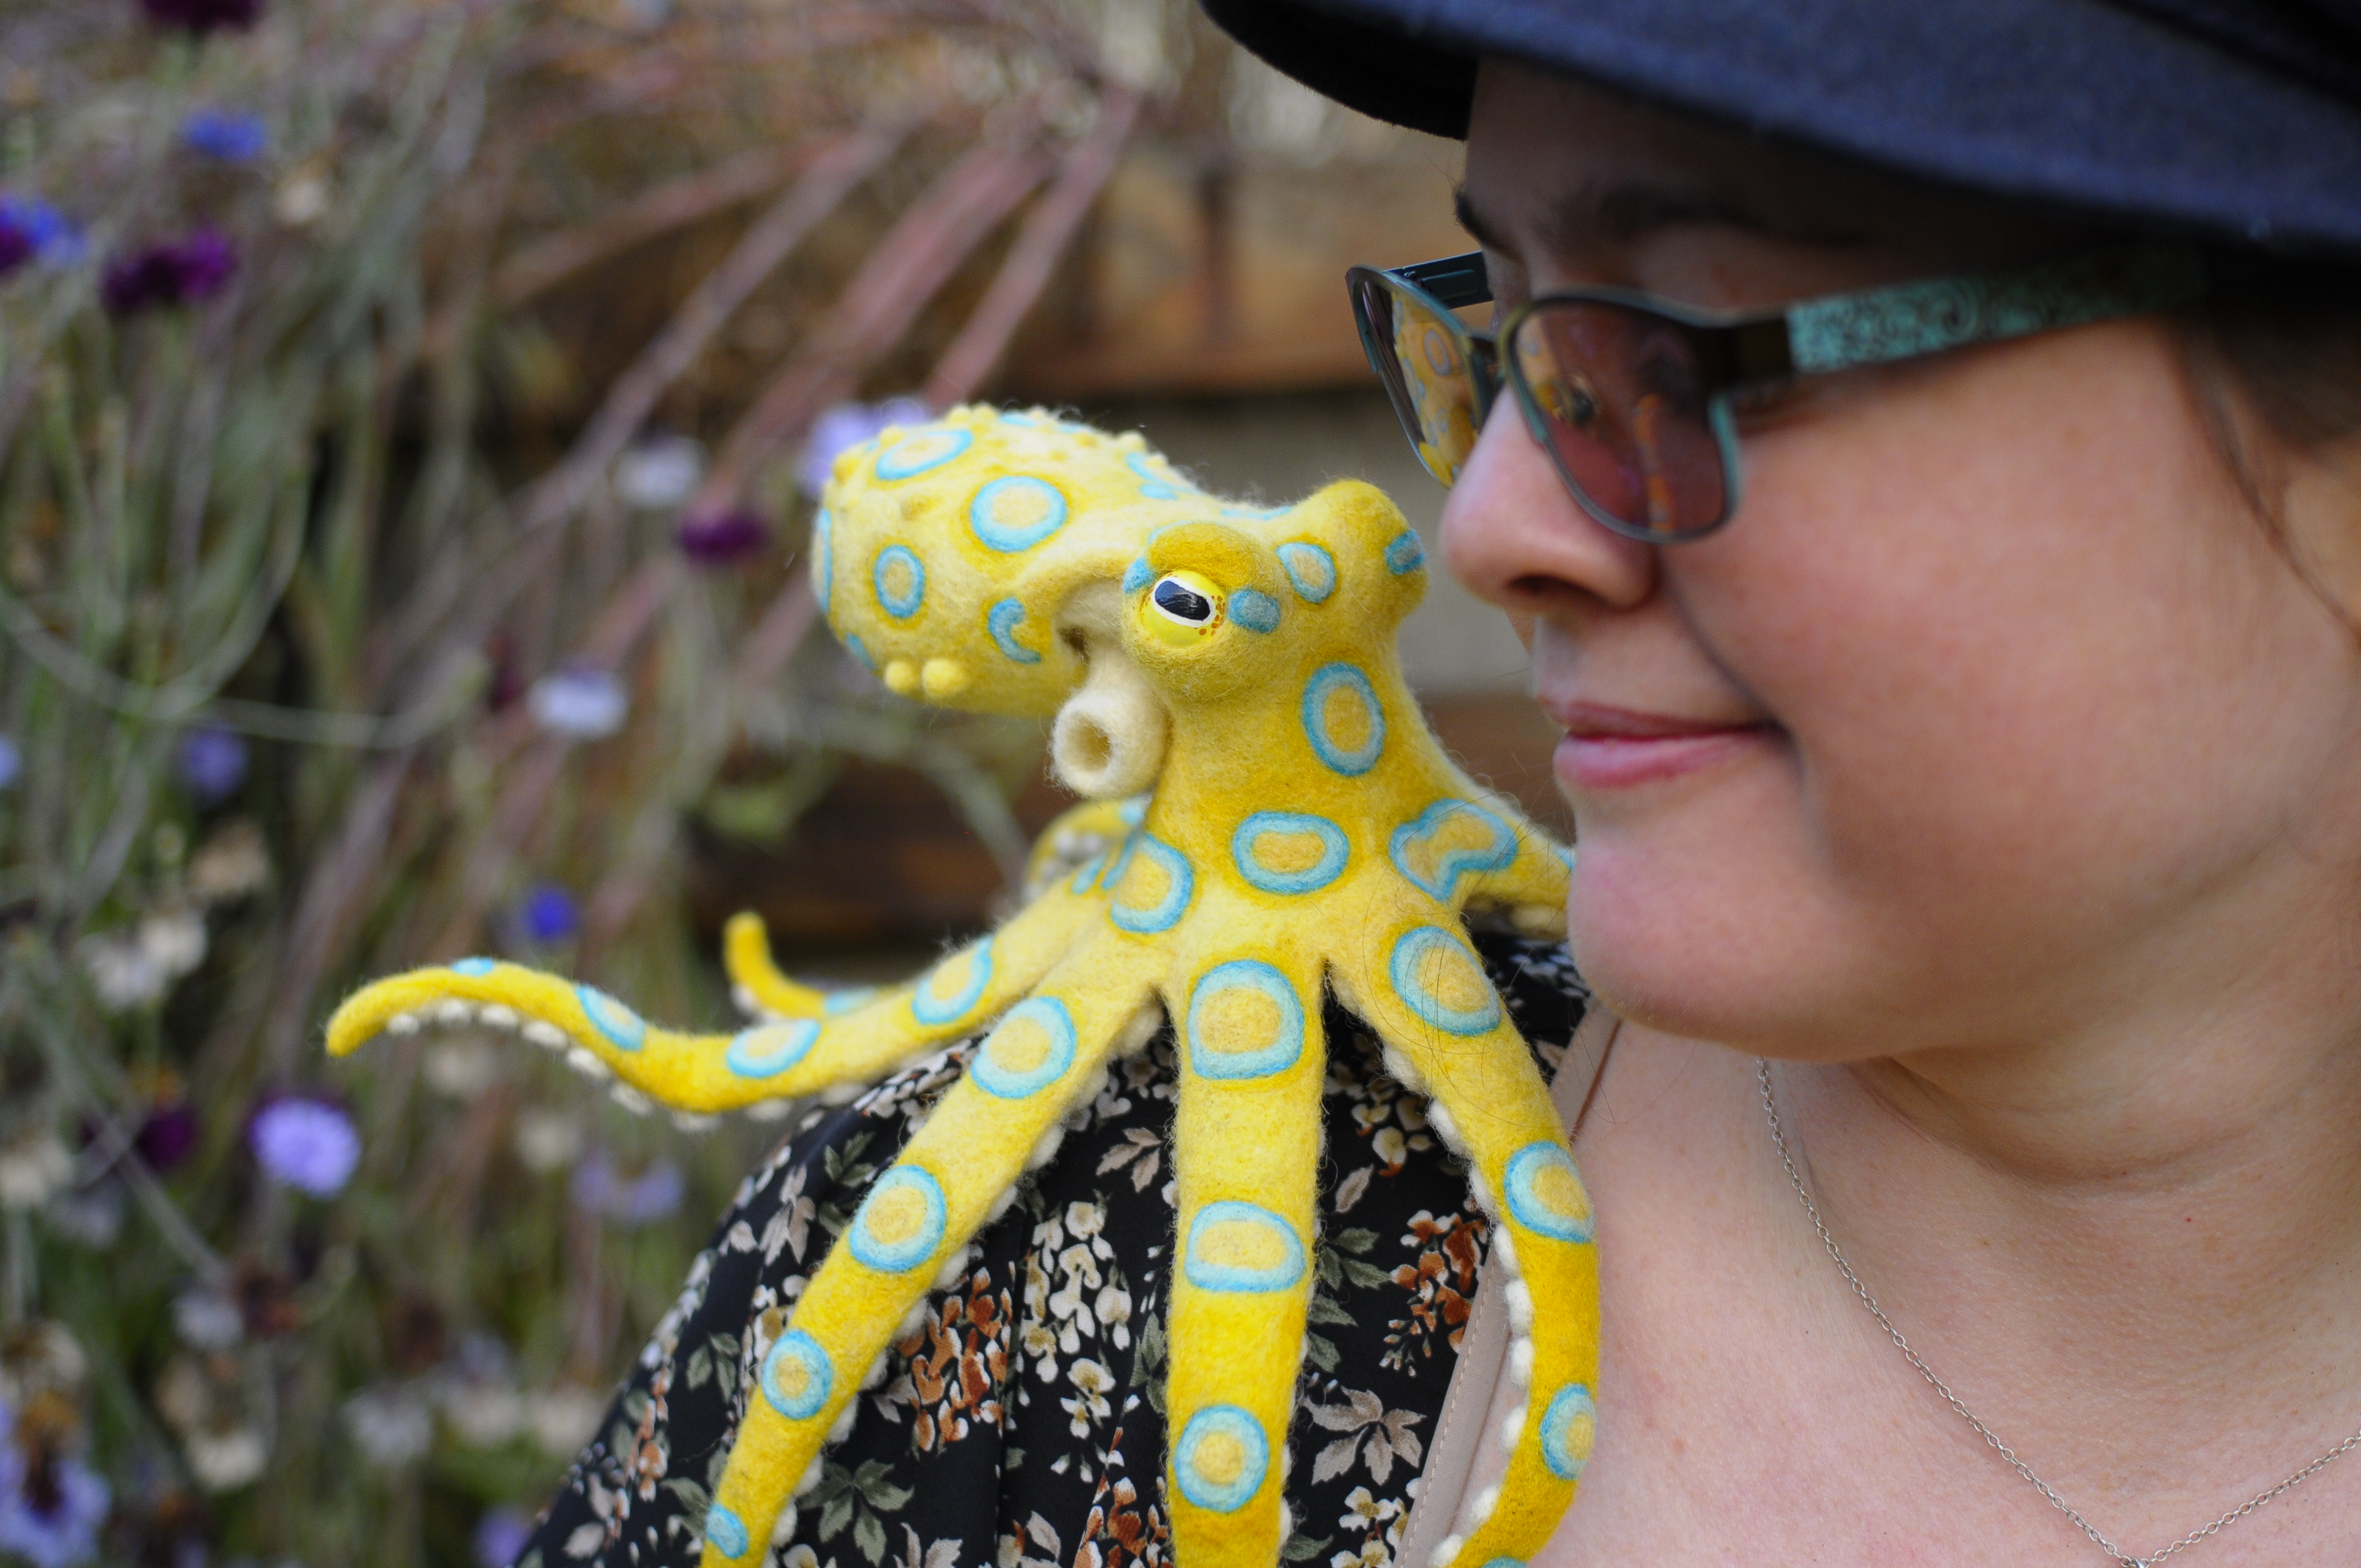
I also added extra textures (bumps) to the mantel of the blue-ringed octopus. All octopuses have the ability to make ridges and bumps all over their bodies, of course, but I had never attempted more than simple “horns” on the eyes on occasion. This time I wanted to give that extra dimension to this blue-ringed oddling.
Here’s a slide-show of the blue-ringed octopus. Just use the arrows to flip through the pics.


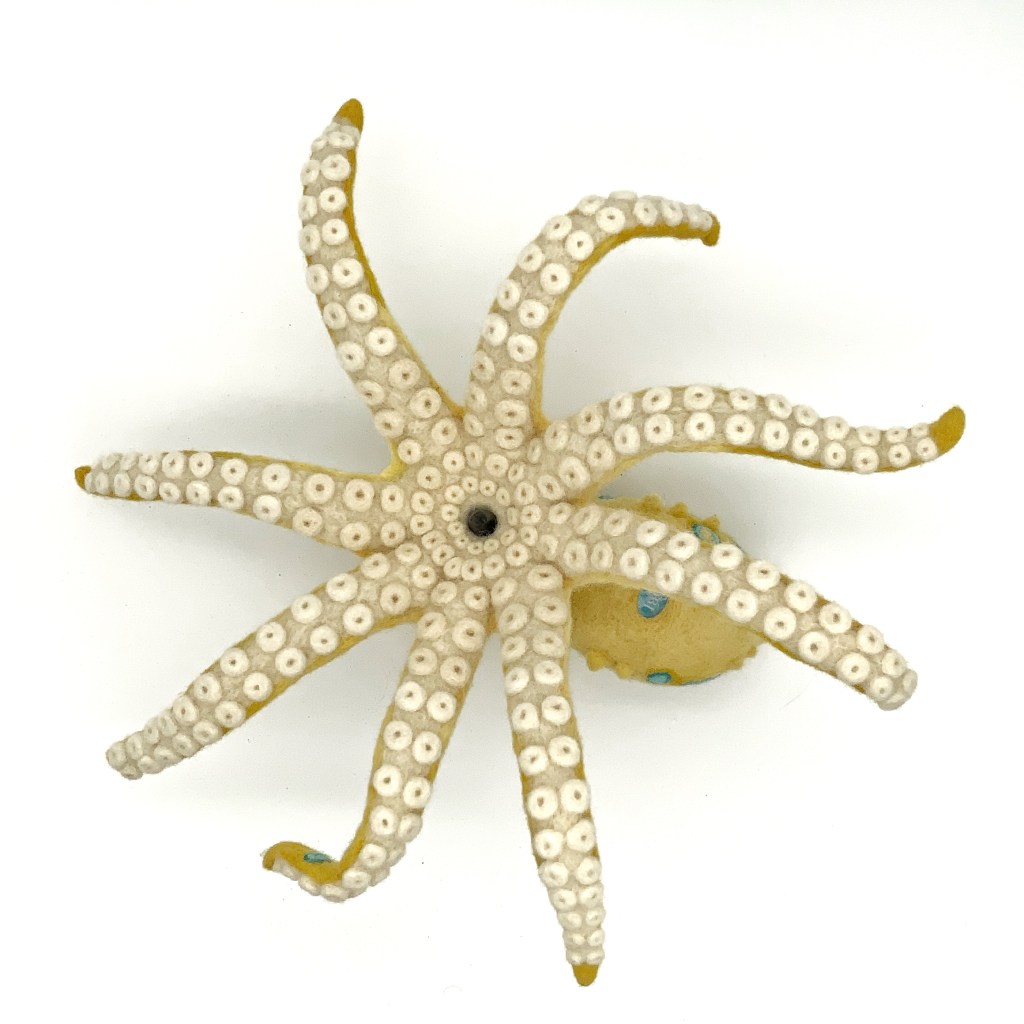


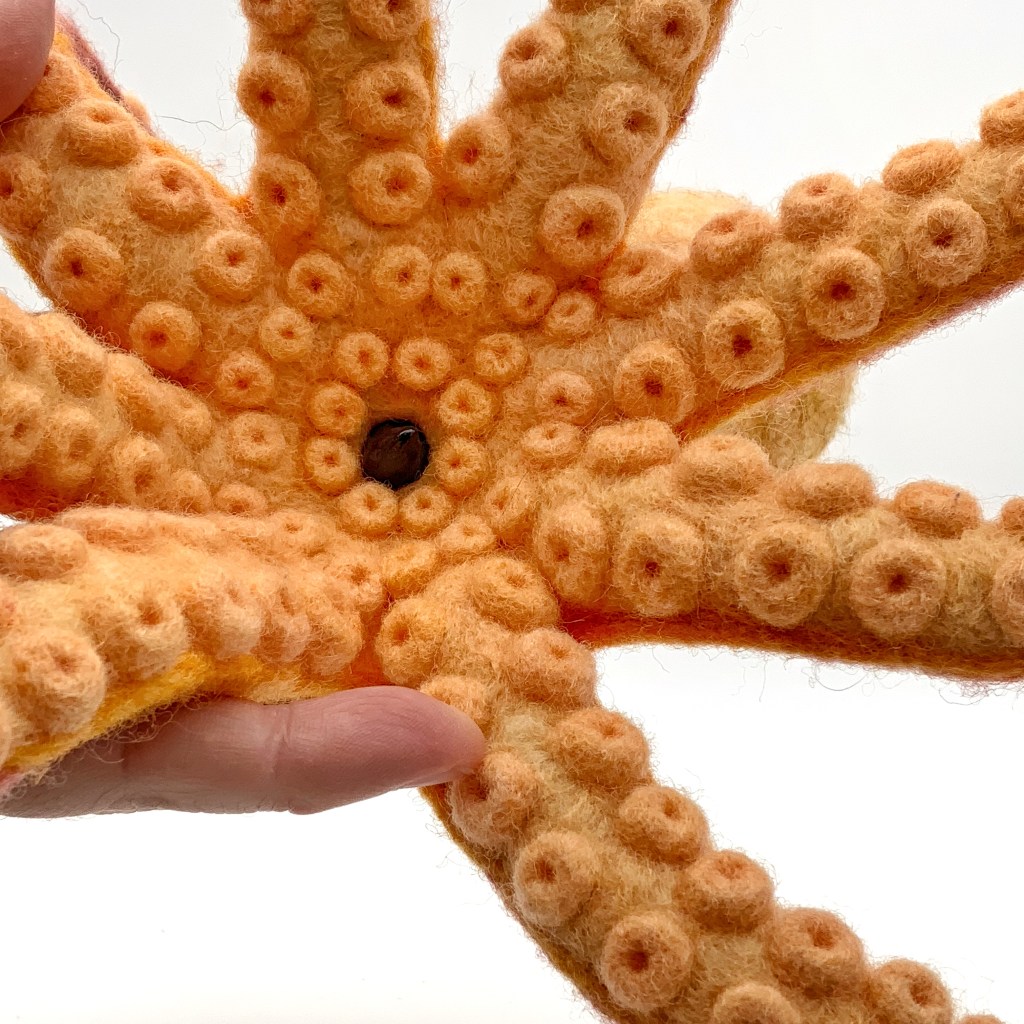
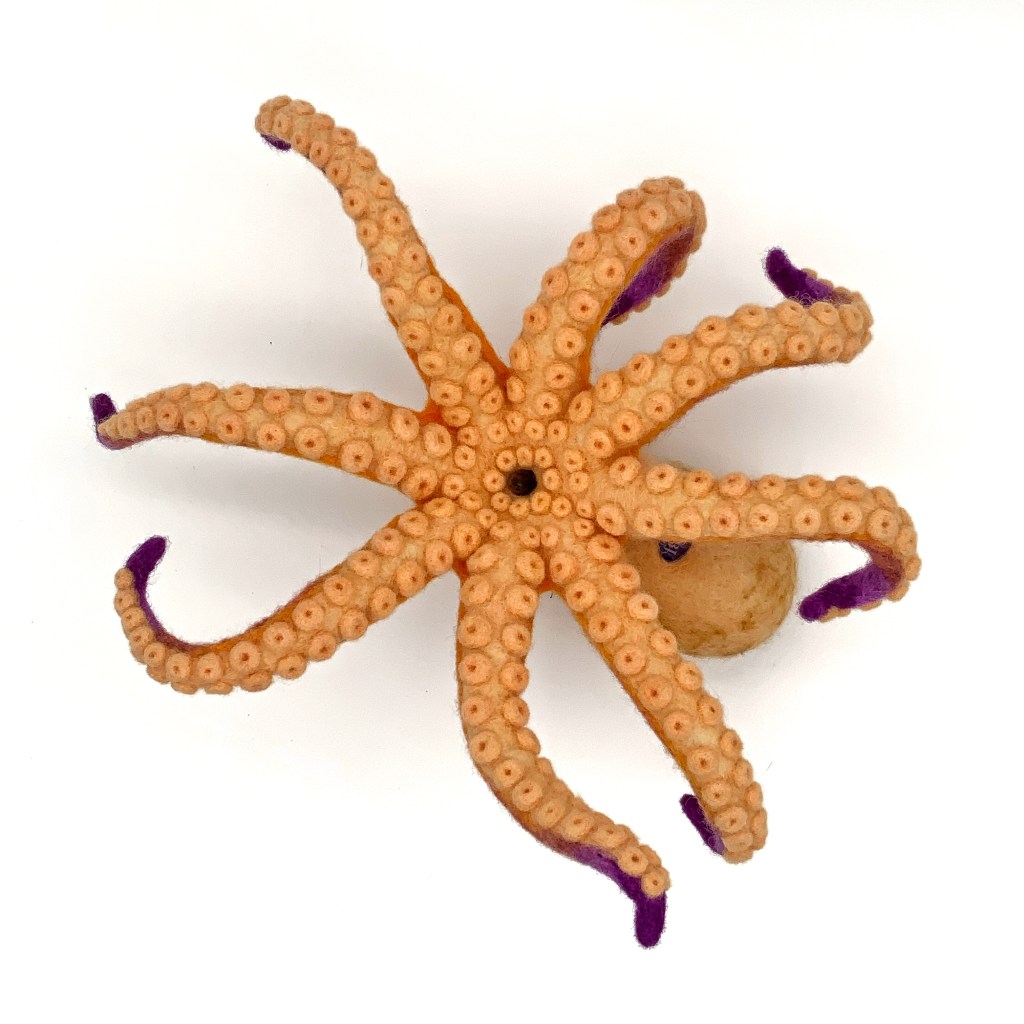
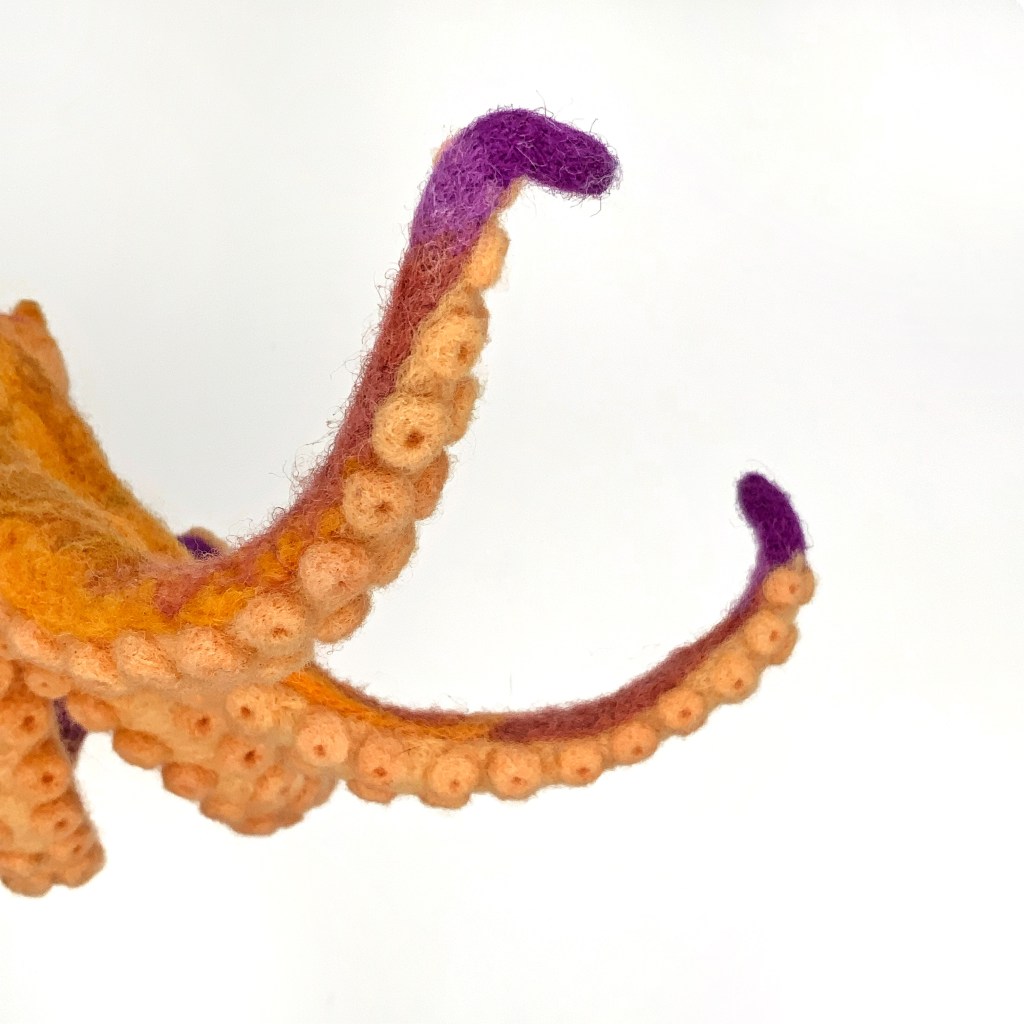
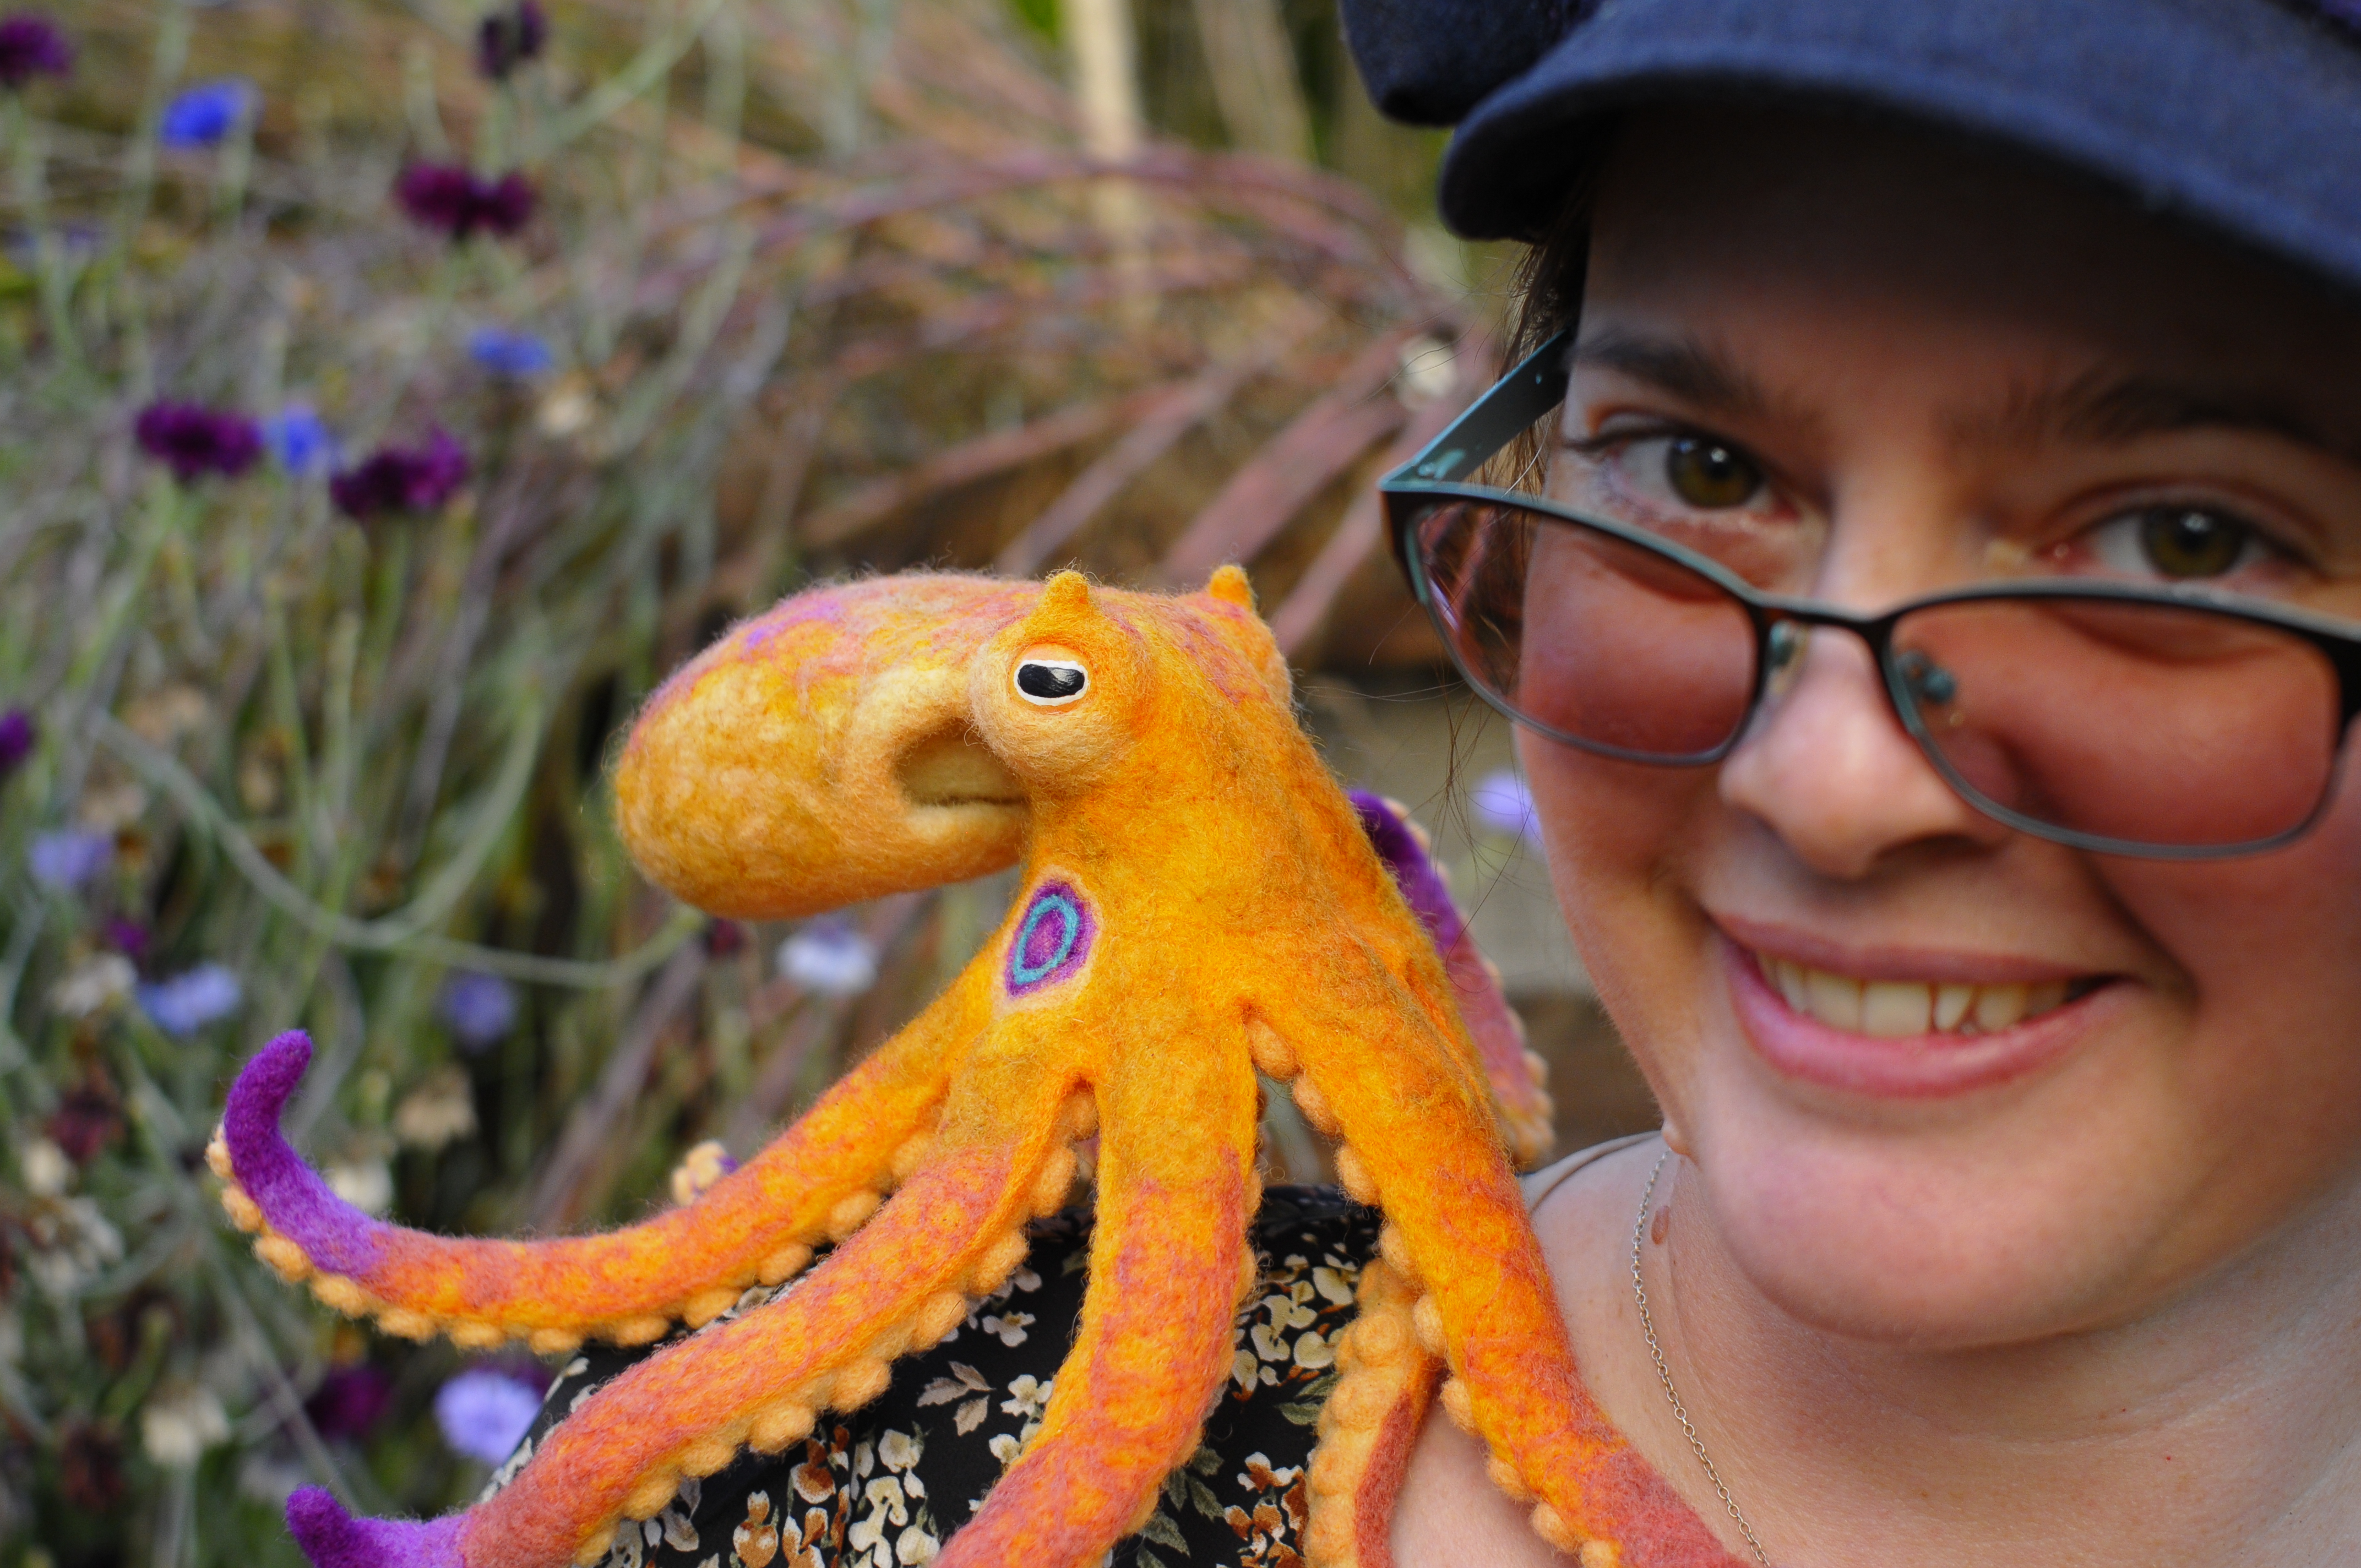
Another slide-show, this one of the two-spot octopus. You can see how many suckers went on each octopus.
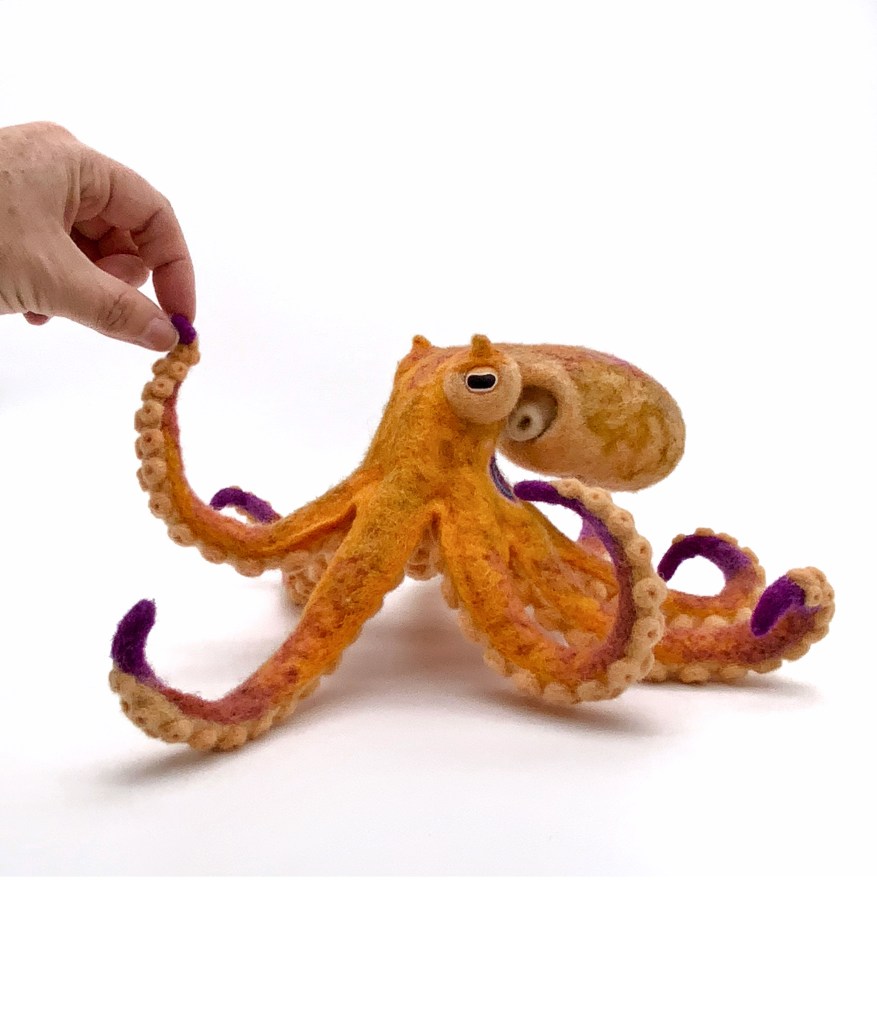


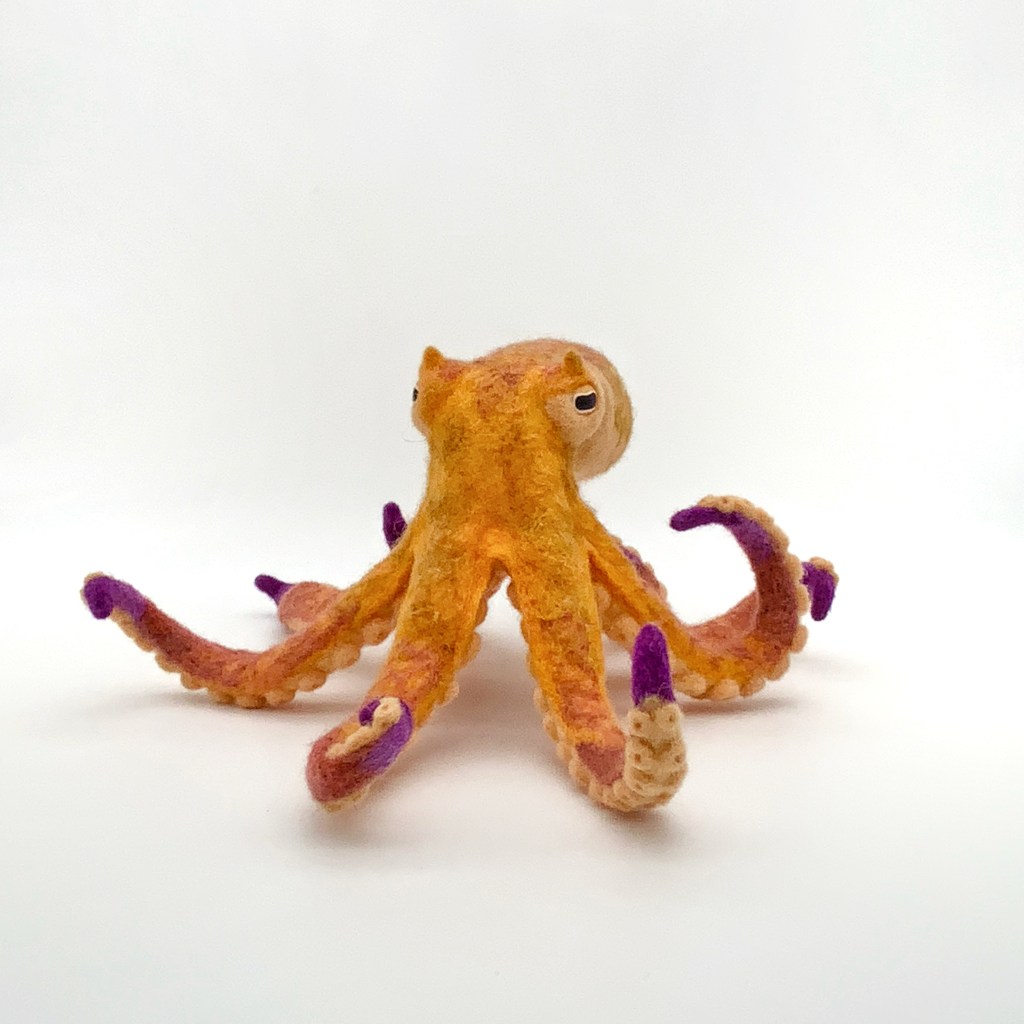


I am so proud of these octopuses. I love how they turned out!
If you’d like to see some behind-the-scenes of how these two were made, head over to my Patreon page, Familiar Oddlings on Patreon, where you can join for only a dollar.

Thank you for reading!