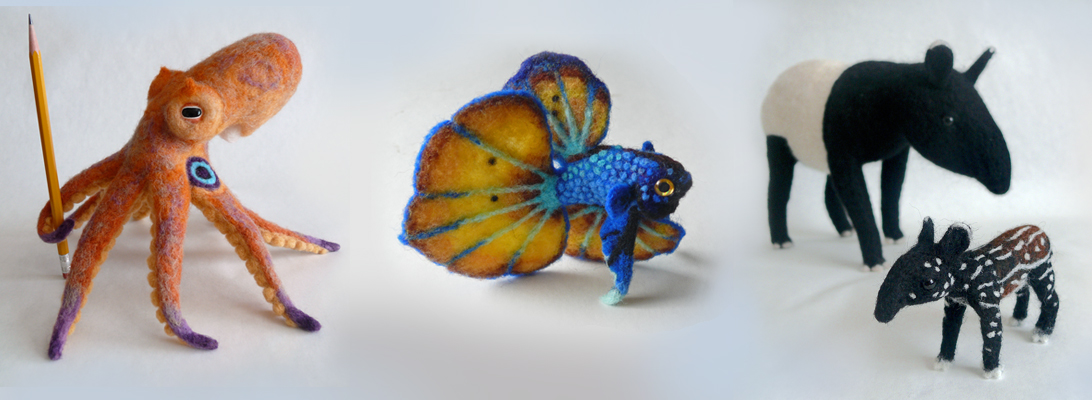
I’ve been working really hard on the needle felted Anthopleura sola, the Starburst anemone, but making all those tentacles is taking a long time. So I thought I’d give you guys a peek into the process by…
… making my first needle felting video! View it at the link:
Below are some stills from the video with a bit more information.
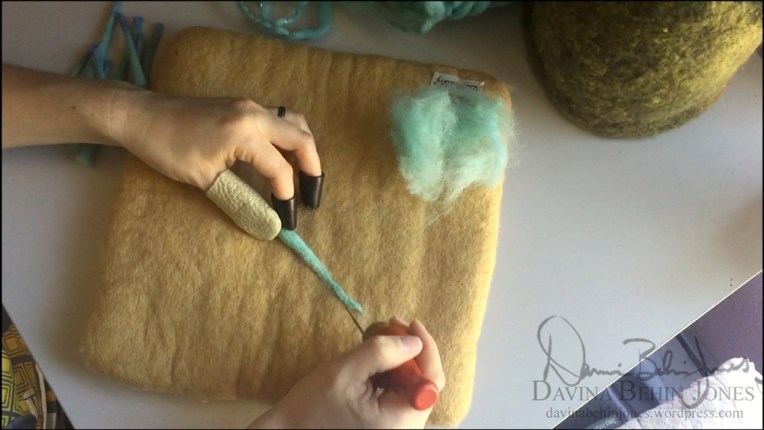
I found a yarn that was the perfect color to blend with my other roving (loose wool ready for felting or spinning). I only need to take it out of its loosely spun strands and make it into roving. You can do this with any yarn that is %100 wool, or any kind of felt-able fiber.Using specialized carding combs, I blend the two colors of roving together. You can get combs like these from Etsy or your local craft store.Here you can see I am wearing leather thimbles on my fingers and thumb. I use a wooden needle holder that I’ve found to be the most comfortable. Even though it has multiple slots, I typically use only a single needle. I felt on a Woolbuddy pad, which is a mat of densely felted wool that works just like a foam pad but better.
The start of the tentacle is a core of plain undyed roving, which is then covered and expanded upon with the blended roving. After rolling the wool into roughly the shape of a tentacle, I poke it repeatedly. The barbed needle does the felting by grabbing the strands and tangling them around each other with every poke. Slowly the tentacle starts to form and hold its shape.
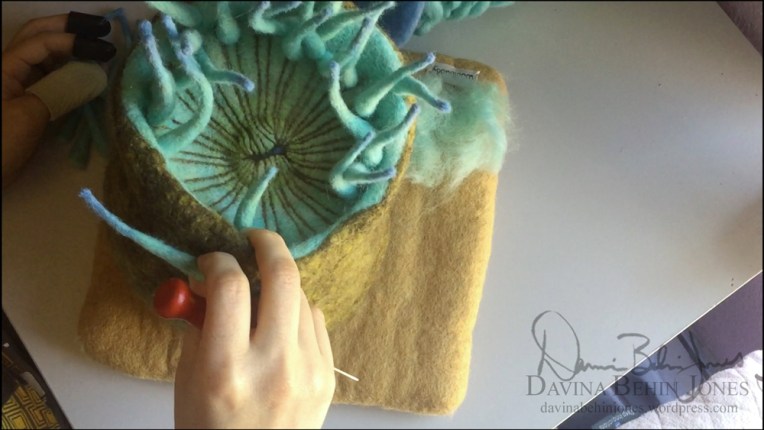
I stretch the blended roving out in a line to get the tentacle long and thin.I add blue roving to the tip of the tentacle.The tentacle is complete and ready to join the others on the anemone!
Thank you for watching my process! This is a long and intense project and I’m glad to have you all along with me.