A little while ago, a good friend commissioned me to make an anniversary cake with a lapidary theme. I dove headfirst into the world of geode cakes!
This was the most challenging baking project I’ve ever attempted. When I started, I didn’t even know what fondant was or to how grow my own rock candy. I learned SO much from this project and made so many mistakes. It marks many firsts for me: my first square cake, first multi-tiered cake, and the first time I tried covering cake with fondant. Not to mention the first time I’ve ever made rock candy!
He also requested a flavor of cake I had never heard of before: apple cocoa with chocolate chips. Of course I had to make a test cake and sample it.
Here’s a pic of the cake before any frosting is applied.

This cake is delicious! Walnuts and spices along with the apple give it an autumnal vibe and the chocolate chips push it over into ultra decadence. It’s a very dense cake and I needed to bake it for much longer than usual, but that crispy edge is what kept me coming back for more “sample” bites. Scrumptious!
I decided to pair it with inner layers of chocolate cream cheese frosting.

Then I coated it with blue American buttercream frosting.


I love the rectangle shapes. Those blue blocks are so … Minecraft, heehee.

The American buttercream frosting naturally formed color variation as I alternated chilling the cake in the fridge and smoothing it.

Next I started getting my fondant ready to drape on the top tier. Did you know there are several different types of fondant? I had no idea until I started this project. For this stage of the cake, I decided on a no-cook recipe for fondant that involves powdered milk, condensed milk, and powdered sugar. I kneaded half with blue food coloring and then twisted and swirled the two parts together to get a little bit of an agate ribbon effect. Then I draped it on the top tier, which was nerve wracking and resulted in many cracks.
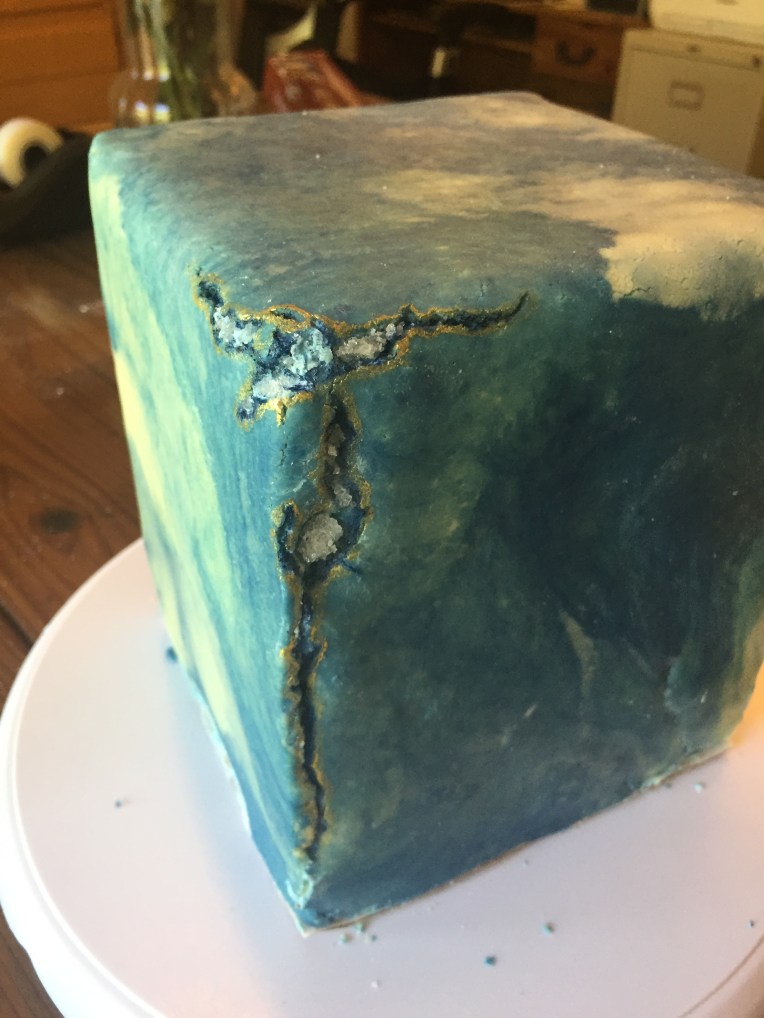
Fortunately, cracks go really well with geode stone cakes! I simply painted the cracks with dark blue and gold food coloring and pushed rock candy into the fissures.
I had the rock candy growing in my kitchen for a couple of weeks. Perhaps the high humidity where I live slows the process down, but it took much longer to get any substantial crystals than anything I had read online. I felt very lucky that I had started growing them when I did. I made two flavors: cinnamon to go with the spices in the cake and apple to go with … you guessed it, the apple in the cake!
I used that same powdered milk fondant recipe and swirl technique to make edible agate slices to place on top of the cake. The toothpicks help secure them into the cake.

About a week before growing the rock candy, I had started growing my own sugar geode using this video as a guide: Rock Candy Edible Geode by HOW TO COOK THAT on YouTube
I made a different fondant recipe (the traditional “basic” type made from cooking granulated sugar, water, and corn syrup — and a little bit of salt) as the base for the geode so the sugar crystals would have something granulated to grow from. I thought powdered sugar wouldn’t grow crystals — or at the least, not as quickly. Then I made a sugar syrup using coffee extract as the flavor and let it sit for three weeks inside the fondant geode shape. I wish I had photos of this process, but I was too worried to have the presence of mind to document it at all. The entire enterprise was a huge risky experiment! But here you can see when I finally installed the candy geode into the bottom tier of the cake after cutting a side of it and letting the syrup drain.

Then I added supports and put the top tier on. It was over two feet tall! Definitely the biggest and heaviest cake I’ve ever made.
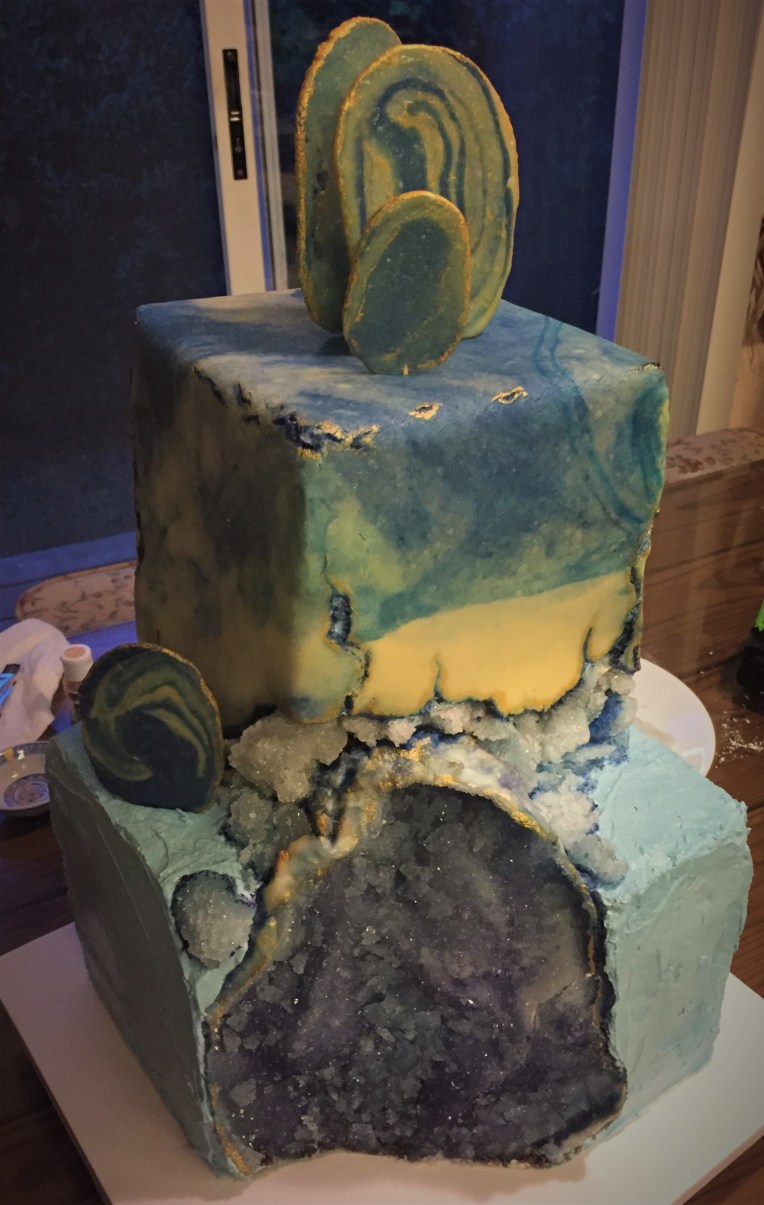
I added lots of home grown sugar crystals and food coloring to the cracks where the two tiers came together.

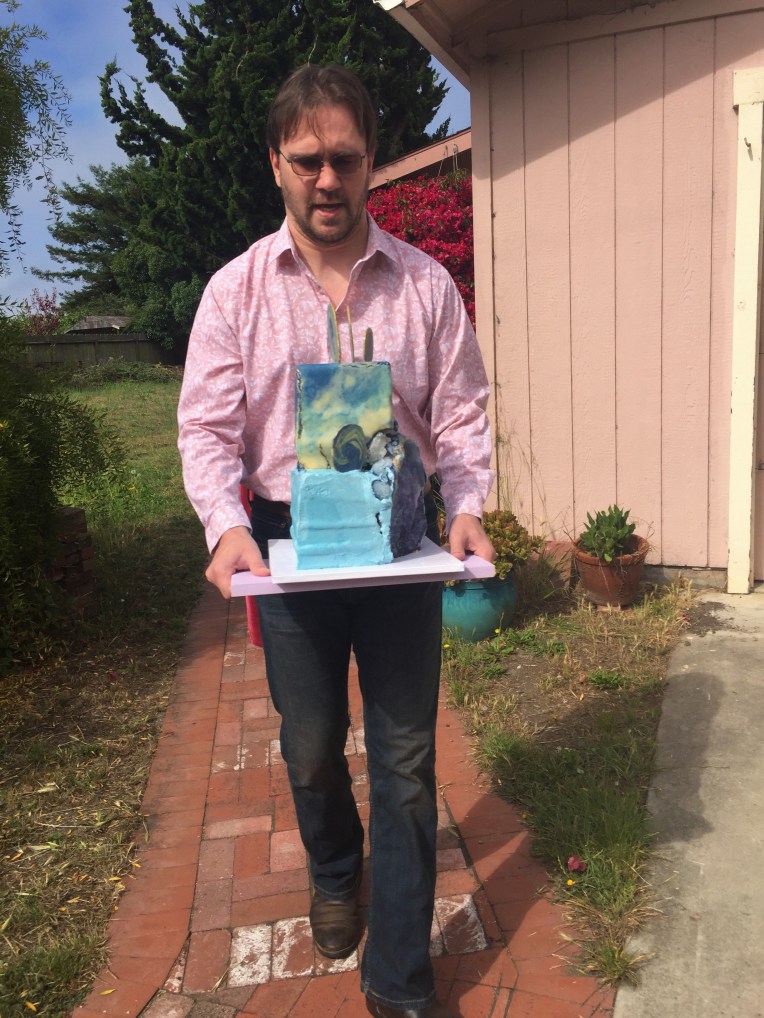
My husband helped me deliver this pinnacle to the place of celebration. It was too heavy for me to carry!
Happy anniversary to Dave and Kathy! This was an incredible experience for me. I learned more — and made more mistakes — than I can put down in a blog post. Thank you so much for thinking of me! It was an honor to be part of your celebration. Edible lapidary is fantastic!
And thank you, dear readers, for following my delirious yet delicious journey as a baker.

Very impressive! That’s about a $300 cake!
LikeLiked by 1 person
Thank you! I’m happy it turned out as well as it did!
LikeLike